
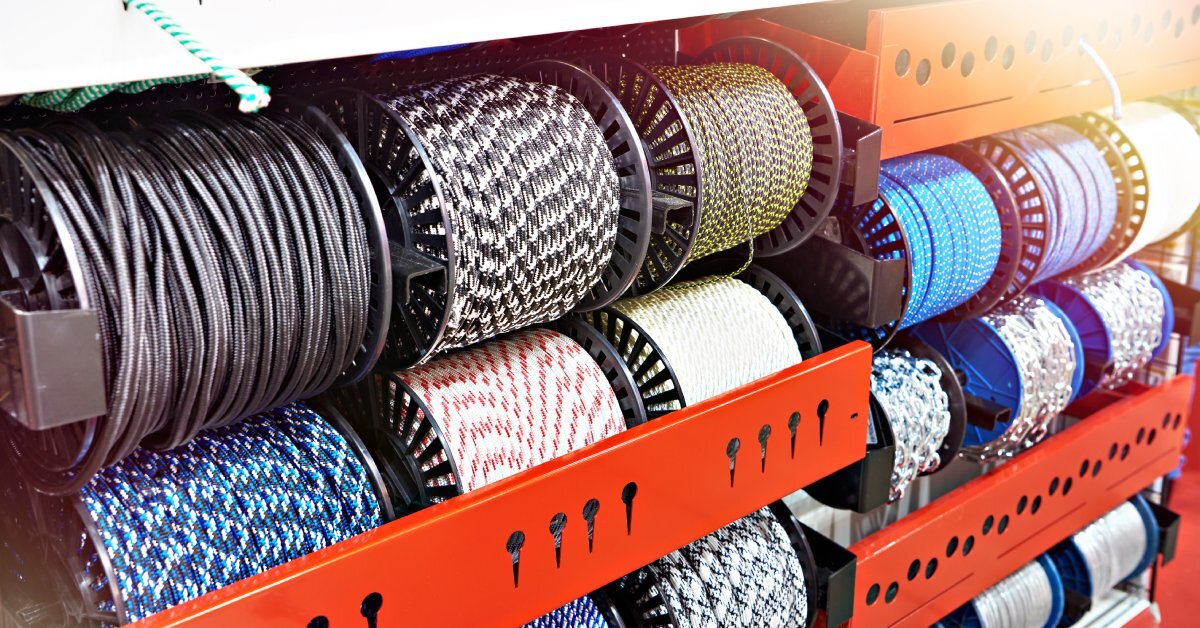
Rigging ropes are the backbone of many industries, especially construction sites hoisting heavy materials. These ropes endure a lot, from heavy loads to harsh weather. But with every job, they’re at risk of wear and tear. Frayed fibers, hidden internal damage, or even unseen chemical exposure can lead to failure at the worst possible moment.
Regular inspections are the first line of defense against accidents and delays. Checking your ropes for damage before every job simultaneously keeps your team safe and saves time and money by preventing costly failures. Let’s walk through what to look for, how to inspect your ropes step-by-step, and tips to help them last longer.
The Importance of Rigging Rope Inspections
Why Inspections Matter
Rigging ropes are a lifeline in many industries, and their condition can directly affect the safety and efficiency of your work. A damaged rope poses a real danger to workers, equipment, and the success of the task. A cut or weakened rope can snap under pressure, which might lead to dropped loads, equipment damage, or, worse, severe injuries.
Beyond safety, regular inspections help you stay in compliance with industry regulations. Inspecting your ropes consistently protects your team and avoids hefty fines for failing to meet safety standards.
How Often Should You Inspect?
Not all jobs exert the same stress on your rigging ropes, but there are key moments when inspections become a must. Always thoroughly check your ropes before using them. Even if they look fine at a glance, a closer inspection can reveal hidden issues. After completing a high-stress task, such as hauling heavy loads, take an extra moment to examine the rope since high tension can accelerate wear.
Additionally, conduct an inspection if the rope has been exposed to harsh weather or chemicals. Even minor damage can worsen quickly under these conditions.

Common Types of Rigging Rope Damage
Visible Wear and Tear
The outer layer of your rope is like its shield, and any visible damage here is a warning sign. Look for frays or abrasions caused by dragging over rough surfaces. If entire fibers are broken, or if there are small cuts along the rope, this compromises its strength.
Internal Damage
Damage isn’t always easy to spot. That’s why you also need to check for internal issues. Loss of flexibility, sudden stiffness, or uneven thickness may all point to internal degradation, such as core failure.
This is especially concerning in double-braided or kernmantle ropes where the core does most of the heavy lifting. Feeling for changes while running the rope through your hands will help you catch internal damage early.
Chemical Exposure
Discoloration or slight melting on the surface often indicates contamination from oils, solvents, or other harsh substances. Even if the damage appears minor, chemical exposure weakens fiber strength and resilience over time, which can lead to failure during use.
Environmental Damage
Your ropes regularly face nature’s challenges, but prolonged sun exposure can degrade them over time. UV rays make many materials brittle, while excessive moisture can lead to mold, mildew, or weakening due to fiber rot. If your rope shows signs of either, it might already have weakened from within.
Heat Damage
Heat is another common issue, often caused by friction or overloading. Areas that look darkened, hardened, or even shiny indicate heat-damaged fibers. These are no longer as strong as they once were and can snap under stress. Keep an eye out for these signs, especially after heavy-duty tasks.
Step-by-Step Guide to Inspecting Rigging Ropes
Step 1: Clean the Rope Before the Inspection
Start with a clean rope. Dirt and debris can disguise surface damage, which makes it harder to give your rope a thorough check. A quick rinse with water will clear away mud, grease, or other buildup, leaving you with a clear view of the rope’s surface.
Step 2: Conduct a Full-Length Check
Lay the entire rope out flat and make every section accessible for your inspection. Slowly pass the rope through your hands or visually scan it, section by section. Look for cuts, fraying, or any irregularities in texture or color that could indicate damage.
Step 3: Feel for Internal Damage
Once you’ve inspected the surface, test deeper by running your hands along the rope. Feel for lumps, stiff spots, or thinning areas, all of which could point to internal damage.
Step 4: Test Flexibility
Ropes need to move and bend during use. Wiggle, twist, or bend different sections to see if they maintain their flexibility. Stiff or unresponsive material often signals damage invisible to the naked eye.
Step 5: Inspect End Terminations/Connections
End terminations, such as splices, knots, or hardware attachments, are common points of failure. Examine these thoroughly for signs of wear or loosening. These areas take on extra stress and need to function perfectly to keep your setup secure.
Tips for Maintaining Rigging Rope Longevity
Proper Storage
Store your ropes in a cool, dry place and keep them out of direct sunlight. Prolonged UV exposure degrades fibers quickly. Protect them further by keeping them away from harmful chemicals or damp areas, which can weaken them over time.
Regular Cleaning
After you use them, rinse your ropes with lukewarm water to remove dirt and salt buildup. Avoid harsh cleaning agents, as they can deteriorate the fibers.
Avoid Overloading
Never push your rigging ropes beyond their rated load capacity. Exceeding these limits weakens the material, even if the rope doesn’t fail right away. Stick to the manufacturer’s weight guidelines to keep your equipment safe.
When To Retire a Rigging Rope
Non-Negotiable Signs of Retirement
Some damage can’t be fixed, and at that point, the safest course is to retire the rope. Severe frayed or cut fibers are an absolute deal-breaker, as is heat or chemical damage that has altered the fibers. If the rope feels noticeably thinner in sections or fails during routine load tests, replace it.
Manufacturer’s Recommendations
Every rope has a lifespan based on its material and construction. Check its usage guidelines and replacement timelines. Even if a rope looks fine, manufacturers often provide a maximum recommended use period for safety.
Onward and Upward!
Take a few minutes to inspect your rigging ropes before every job. This might feel like a small task, but it creates a ripple effect for safety, reliability, and success. Building a habit of care and attention ultimately protects everyone involved. Every inspection is a step toward preventing accidents, saving time, and maintaining trust among your team.
Think of your ropes as partners in the job, bearing the weight and stress right alongside you. Treat them with respect, and they’ll repay you with performance you can count on. A strong rope supports more than weight; it supports the confidence to take on the toughest jobs with assurance.